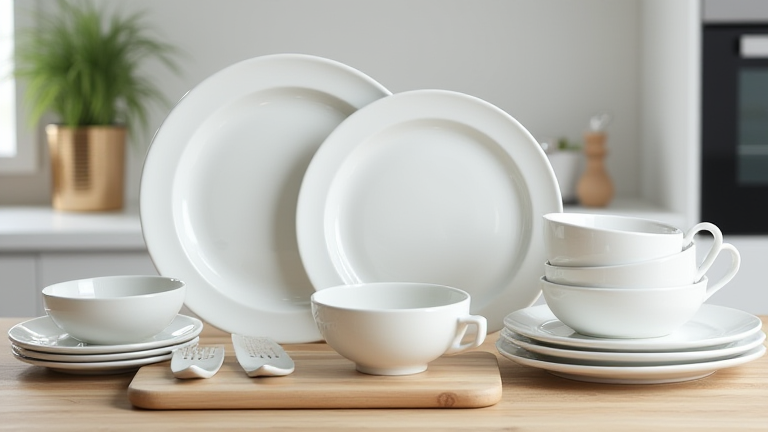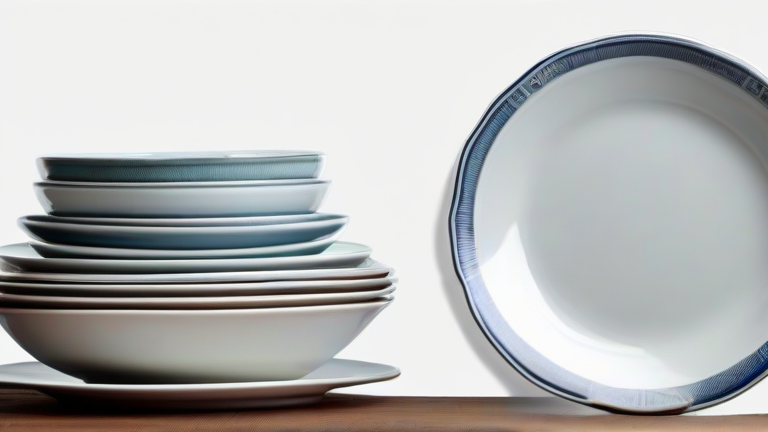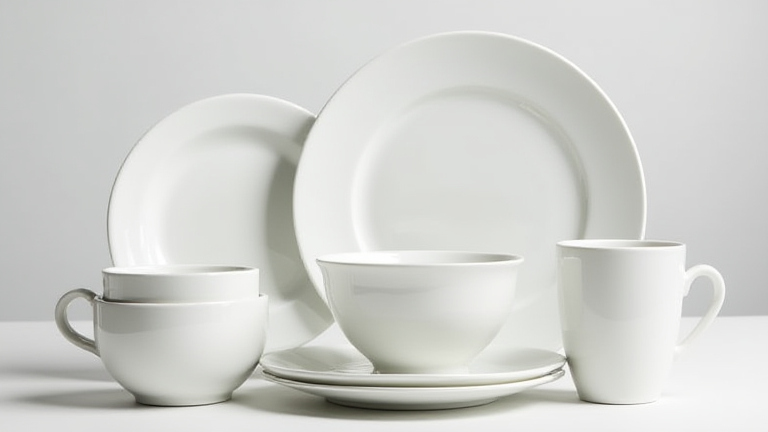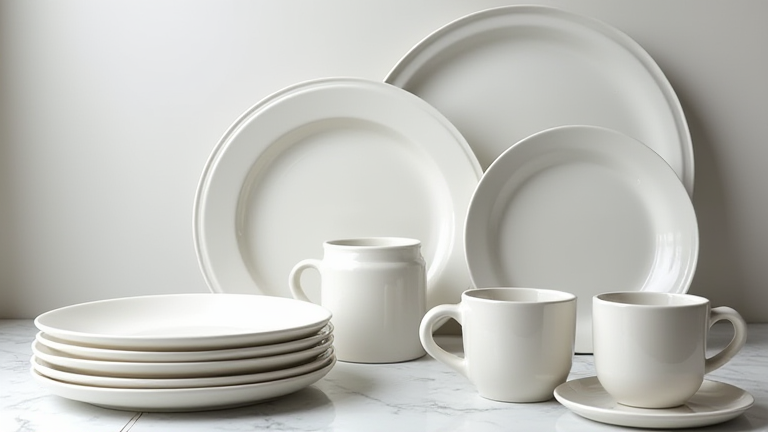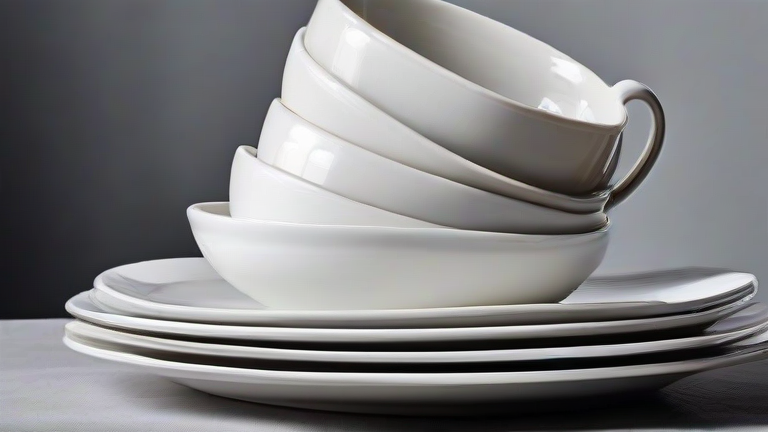
TL;DR: Clean porcelain dinnerware by hand with mild dish soap and warm water, or use the dishwasher only on a gentle cycle with non-citrus detergent. Prevent chips and crazing by avoiding thermal shock, stacking with felt liners, and storing cups and bowls separately.
Step 1: Immediate Rinse & Pre-Treatment
As soon as you finish eating, scrape off food residue with a silicone spatula or soft sponge—never metal tools. Rinse each piece under lukewarm running water to remove acids from tomato, citrus, or vinegar before they etch the glaze. For stubborn, dried-on food, fill the dish with warm water and one drop of dish soap, then let it soak for 10–15 minutes. Do not use boiling water; sudden temperature changes can cause microscopic cracks in the porcelain body.
If you want to dig deeper, check out our guide on Elevate Your Meals: The Art of Porcelain Dinnerware.
Step 2: Hand Washing – The Gold Standard
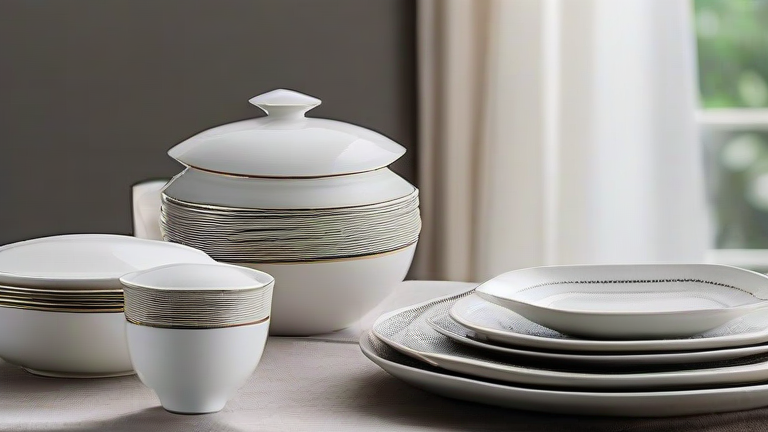
Fill a plastic or stainless steel basin with warm water (not hot) and add a few drops of pH-neutral dish liquid. Wash one piece at a time using a soft cellulose sponge or a microfiber cloth. Work in gentle, circular motions, paying extra attention to the rim and foot ring where oils accumulate. Rinse each item immediately under warm running water, then place it on a dish rack lined with a cotton towel. For gold-trimmed or hand-painted porcelain, hand washing is mandatory—dishwasher detergents will dull metallic luster within ten washes.
Step 3: Dishwasher Use (With Caveats)
If your porcelain is marked “dishwasher-safe” on the bottom, use the top rack only, angled so water doesn’t pool in bowls. Select the “china” or “gentle” cycle with no heated dry. Choose a non-citrus, non-gel detergent tablet (citrus acids attack the glaze). Never wash porcelain with stainless steel cutlery in the same load—metal can scrape off glaze. Remove dishes before the dry cycle ends and towel-dry immediately to prevent water spots.
Step 4: Drying & Polishing
Air-drying is fine, but hard water leaves mineral deposits. Instead, dry each piece with a lint-free cotton or microfiber towel immediately after washing. For extra shine, buff the surface with a dry, soft cloth in small circles. Never stack wet porcelain—trapped moisture encourages bacterial growth and can cause “stacking marks” (gray scuffs) that are impossible to remove.
Step 5: Proper Storage & Stacking
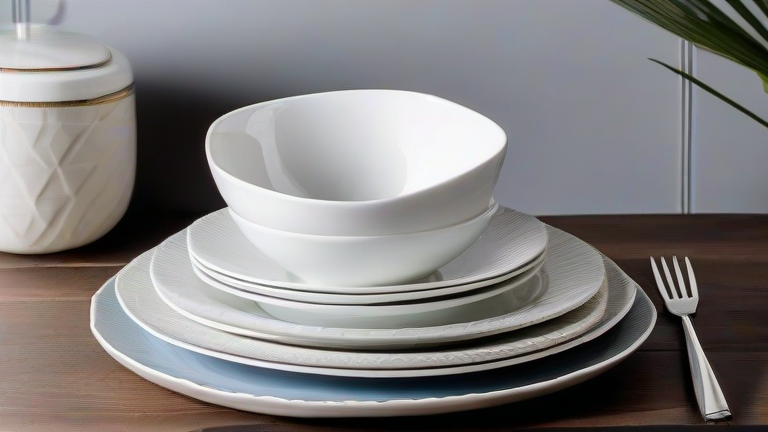
Place felt or cork liners between each plate and bowl before stacking. For cups, hang them on hooks or store upright with a paper towel inside to absorb humidity. Never stack teacups—the handles are the weakest point. Keep dinnerware in a cabinet away from heat vents, direct sunlight, or extreme cold, as temperature swings cause crazing (fine hairline cracks in the glaze).
Step 6: Removing Stains & Scuffs
For tea or coffee stains, make a paste of baking soda and water, apply gently with a soft cloth, and rinse immediately. For gray metal scuffs (from cutlery), rub with a melamine sponge (like a magic eraser) using light pressure—test on the underside first. Never use bleach, chlorine, or abrasive powders, as these will permanently remove the glossy finish.
Step 7: Handling Chips & Cracks
If a chip occurs, stop using that piece for food immediately—porcelain is porous once the glaze breaks. You can glue non-food-safe decorative pieces with epoxy, but for serving ware, retire the item. To prevent future chips, always carry one plate at a time, never stack more than six plates high, and keep a rubber mat in your sink while washing.
FAQ
Q: Can I put porcelain dinnerware in the microwave?
A: Only if it has no metallic trim (gold/silver) and is marked microwave-safe. Even then, heat in short bursts and avoid sudden temperature changes—cold porcelain