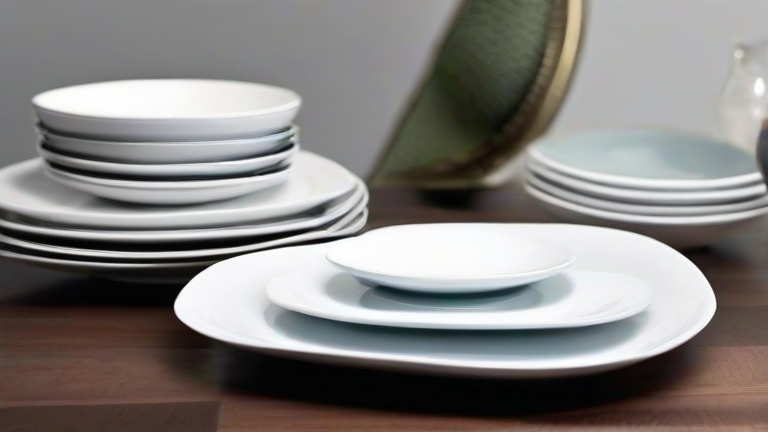
TL;DR: Wash porcelain by hand with mild soap and soft cloths, avoiding thermal shock and abrasives. For chips or cracks, use food-safe epoxy and fine-grit sanding, but never use damaged pieces for hot foods.
Step 1: Daily Cleaning the Safe Way
Always rinse plates and cups immediately after use to prevent staining from acidic foods like tomato or tea. Hand-wash with warm (not hot) water, a drop of mild dish soap, and a non-abrasive sponge or microfiber cloth. Avoid steel wool or scouring pads—they will permanently dull the glaze. If your porcelain is marked “dishwasher-safe,” still place pieces on the top rack with a gentle cycle, spaced apart to prevent clinking.
If you want to dig deeper, check out our guide on Porcelain Dinnerware Care: 5-Step Cleaning & Polishing Guide.
Step 2: Removing Stubborn Stains
For coffee or tea rings, make a paste of baking soda and water. Apply with a soft finger or cotton swab, gently rubbing in circles for 30 seconds, then rinse. For metallic marks (from silverware), use a dab of white vinegar on a soft cloth, then wash immediately. Never soak porcelain for more than 15 minutes—prolonged water exposure can weaken the body over time, especially in older or vintage pieces.
Step 3: Drying and Storage
Dry each piece immediately with a soft cotton towel to prevent water spots. Stack plates with a paper towel or felt pad between each—this prevents micro-scratches from glaze friction. Store cups and bowls upright, never nested, to avoid stress fractures on rims. Keep cabinets away from direct heat or drastic humidity changes.
Step 4: Repairing Small Chips
For a chip on the rim or base, use a two-part food-safe epoxy (e.g., JB Weld Food-Safe). Clean the area with rubbing alcohol, mix the epoxy according to instructions, and apply a tiny amount with a toothpick. Press the chip back if it’s intact, or fill the gap if missing. Let cure for 24 hours, then sand the repair with 400-grit wet/dry sandpaper, followed by 1000-grit for a smooth finish. Wash with soap before use.
Step 5: Fixing Hairline Cracks (Not Splits)
Hairline cracks can be sealed to prevent moisture absorption. Use a thin cyanoacrylate (super glue) that is food-safe after curing. Apply a single drop along the crack, let it wick in, and wipe off excess with a damp cloth. After 12 hours, the piece is safe for serving dry foods only. Do NOT use cracked porcelain in ovens, microwaves, or with hot liquids—the crack can expand and shatter.
Step 6: Long-Term Prevention
Never place cold porcelain directly onto a hot stovetop or into boiling water—thermal shock causes crazing (tiny spiderweb cracks). Always let hot dishes cool to room temperature before washing. For heirloom pieces, skip the dishwasher entirely. If a piece has gold or platinum trim, treat it as decorative only; metal banding wears off with any washing.
FAQ
Q: Can I use bleach to whiten stained porcelain?
A: No—bleach can erode the glaze and discolor decorative patterns. Use baking soda paste or a diluted hydrogen peroxide (3%) rinse, then wash with soap.
Q: Is it safe to eat off a repaired porcelain plate?
A: Yes, if you used food-safe epoxy or cyanoacrylate and allowed full cure. However, avoid acidic foods (lemon, vinegar) on repaired areas, as they can break down the adhesive over time.
Q: How do I tell if my porcelain is actually bone china?
A: Hold it up to light—bone china is translucent (you’ll see a glow through the rim), while porcelain is opaque. Also, bone china rings like a bell when tapped; porcelain gives a duller thud. Both use the same
Leave a Reply