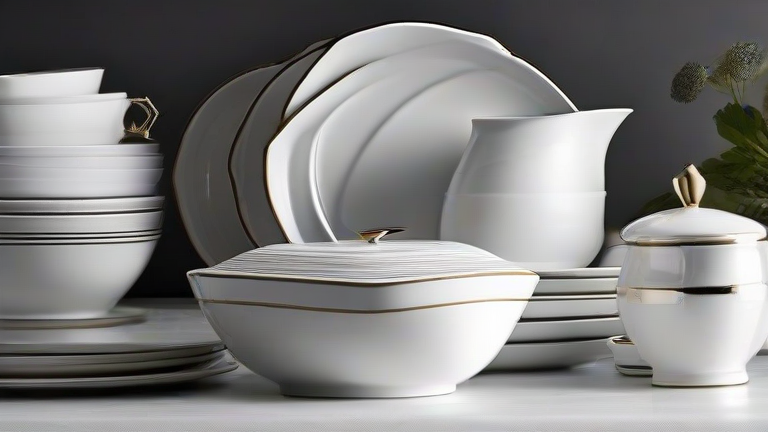
TL;DR: To clean porcelain dinnerware safely, hand-wash with mild dish soap and a soft sponge, avoiding abrasive pads and sudden temperature changes. For maintenance, stack pieces with felt liners, store cups separately, and use a gentle ceramic-specific polish to restore shine without damaging the glaze.
Why Porcelain Requires Special Care
Porcelain is a high-fired ceramic, making it chip-resistant but not chip-proof. Its glass-like glaze can crack under thermal shock, and metal utensils or harsh scrubbers leave micro-scratches that dull the surface over time. Unlike stoneware, porcelain’s delicate rim edges and hand-painted details demand a gentler routine. Always check the manufacturer’s label: some modern porcelains are dishwasher-safe, but hand-washing is the safest default for longevity.
If you want to dig deeper, check out our guide on Is Porcelain Dinnerware Healthy? Lead & Safety Facts.
Step-by-Step Cleaning Process
1. Pre-Rinse Immediately After Use. Rinse plates and bowls under lukewarm water to remove food residue. Never let acidic foods (tomato, citrus) dry onto the glaze—they can etch the surface. If residue is stubborn, fill the piece with warm water and a drop of dish soap, letting it soak for 10 minutes.
2. Wash with Mild Soap and a Soft Sponge. Use a non-abrasive liquid soap (pH-neutral preferred) and a cellulose sponge or microfiber cloth. Work in gentle circular motions. For grease, add a teaspoon of white vinegar to the water—it cuts fat without harming the glaze. Avoid scouring pads, steel wool, or gritty powders; these will leave permanent hairline scratches.
3. Rinse in Warm Water. Switch to warm, not hot, water for rinsing. Hot water can cause rapid expansion of the glaze, leading to crazing (tiny cracks). Rinse thoroughly until no soap film remains, as soap residue can leave a cloudy film after drying.
4. Dry Immediately with a Lint-Free Cloth. Air-drying can leave water spots, especially in hard-water areas. Use a soft cotton towel to dry each piece individually. For cups and bowls, turn them upside down on the towel to drain, but dry the rims first—this is where water collects and can stain.
5. Remove Stains with a Baking Soda Paste. For tea or coffee stains, mix 1 tablespoon baking soda with 2 tablespoons water to form a paste. Apply with a soft fingertip or cotton ball, rub gently for 30 seconds, then rinse. Do not use lemon juice on hand-painted patterns—it can fade the pigment.
Maintenance and Storage Tips
Stacking: Place a paper towel or felt pad between each plate to prevent glaze-on-glaze friction, which can cause “ring marks.” Never stack cups or bowls inside each other without a liner—the foot of one can scratch the interior of another. Store cups on hooks or upright on shelves, not upside down on their rims.
Thermal Protection: Never place a cold porcelain dish directly into a preheated oven or pour boiling water into a chilled cup. Always let the piece come to room temperature first. For microwave use, ensure the porcelain has no metallic trim; even a gold rim can cause arcing.
Polishing: Once a month, apply a tiny drop of food-grade mineral oil onto a soft cloth and buff the glaze to restore luster. Wipe off any excess—oil left on the surface can attract dust. Avoid commercial ceramic polishes with silicone, as they can leave a sticky residue.
Handling Chips and Crazing
If a chip occurs, do not use the piece for food—bacteria can hide in the exposed clay. Repurpose it as a jewelry dish or trinket holder. For crazing (fine cracks in the glaze), stop using the piece for acidic foods; the cracks can harbor stains. You can lighten crazing by soaking the piece in a diluted bleach solution (1 part bleach to 10 parts water)
Leave a Reply